Build Your Own GCP VM Image Using HashiCorp's Packer

Packer is a tool for creating custom machine images in an automated and repeatable way. It makes identical machine images across multiple platforms, including AWS, Azure, and Docker. You declare the state of the VM image you need, and Packer will build it for you. In this article, we will be building an image for a Google Compute Engine instance and then use that image to spin up an instance.
Understanding the Packer Template and its Components
A Packer Template can be written either in JSON format or HashiCorp Configuration Language (HCL) format.
NOTE: As of Packer version 1.7.0, HCL is the recommended way for you to interact with Packer, although JSON templates are still supported.
The Packer template is made up of 3 main components:
Builders: Builders are responsible for creating an instance and generating machine images from them. Here you can specify attributes such as the base operating system and name of the new image.
Provisioners: allow you to customize the base image defined in the builders section. When building images, Packer is able to use tools like Chef, Puppet and Ansible to install and configure software within your Packer-made images.
Post-processors (optional): These run extra tasks to perform after the image has been created.
Packer Workflow
Here’s a basic workflow of how Packer creates a machine image using the configuration defined in a Packer template:
Take a look at the following high-level Packer workflow diagram.
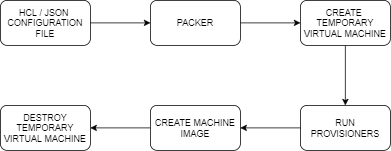 Figure 1: Image Creation Workflow in Packer
First, Packer spins up a new instance with the base image that was described in the Builders section. Then, Packer will SSH into the new VM and apply any configuration defined in the Provisioners section of the Packer configuration file. Once setup is done, it deletes the instance and saves the new machine image with any needed post-processing.
Building A GCE Image Using Packer
Prerequisites
Install Packer by going to packer.io and download the appropriate version for your operating system.
Create or select a GCP Project. Create a Service Account with Compute Engine Instance Admin (v1) and Service Account User roles.
Create a Packer Configuration File
When building images, Packer uses tools like Chef, Puppet, or Ansible to install and configure software within your Packer-made images. In this project, I have provided both a Bash shell script and an Ansible Playbook which can both be used to install the necessary software needed for the project.
Create a file named packer.hcl and paste the following content:
source "googlecompute" "basic-example" {
  project_id = "my project"
  source_image = "ubuntu-1804-bionic-v20210623"
  ssh_username = "ubuntu"
  zone = "us-central1-a"
}

build {
  sources = ["sources.googlecompute.basic-example"]

  provisioner "shell" {
    script = "install.sh"
  }
}
If you want to use Ansible as your provisioner instead of the Bash Script, replace the provisioner section with the following:
provisioner "ansible" {
    playbook_file = "./ansible_playbook.yml"
  }
You can refer to HashiCorp's official documentation for more on Packer's Ansible provisioner and the Shell provisioner.
In our example, we define the builder for Google Cloud Platform, our project ID, base image name, ssh username, and zone. We use the shell provisioner that has a separate file, install.sh which is the shell script that will install all the packages we need to be baked into the machine.
Now it's time to validate the packer.hcl file to make sure it is formatted correctly by running the following command:
packer validate packer.hcl
To build the image, we run packer:
packer build packer.hcl
You will see output similar to the following:
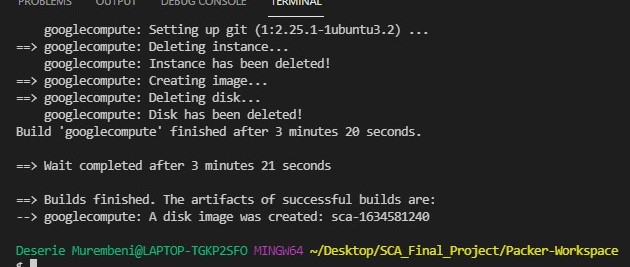
This shows the progress of packer as it starts up and provisions the instance. Upon successfully completing the build, packer will create an image from the instance and clean up after itself.
Create a Google Compute Instance Using The Custom Packer Machine Image
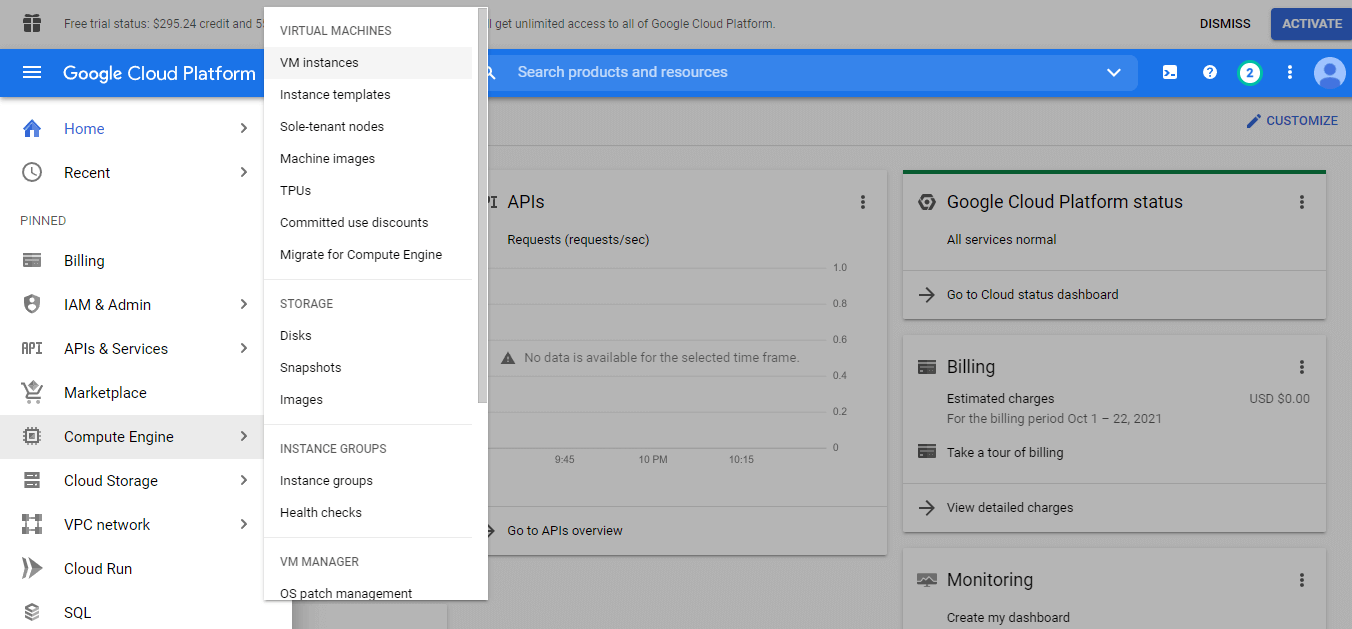
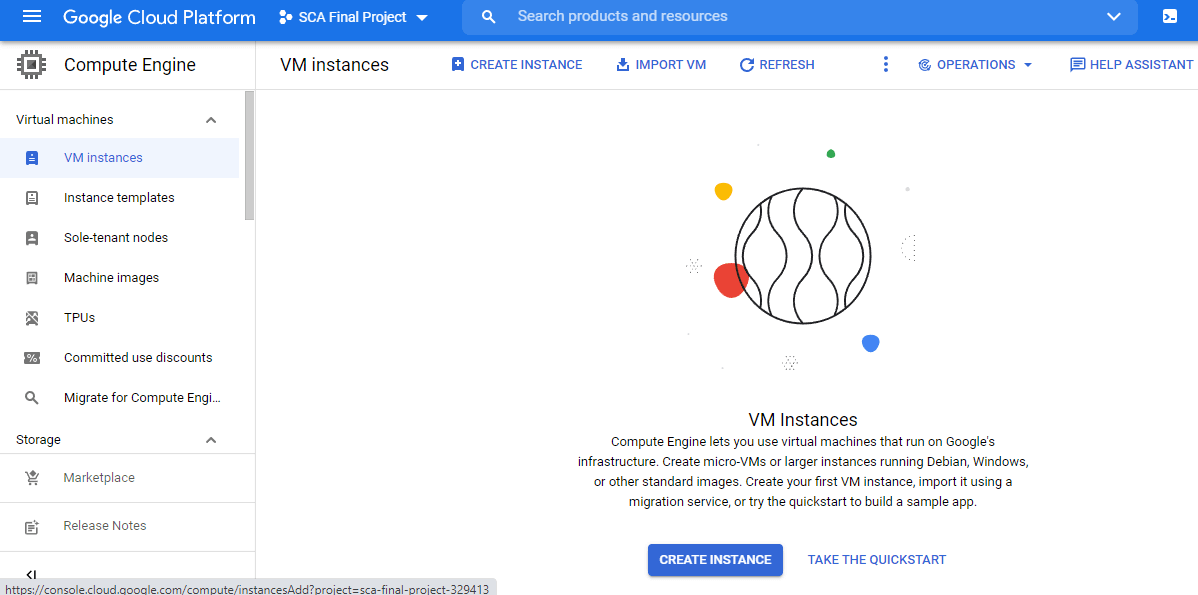
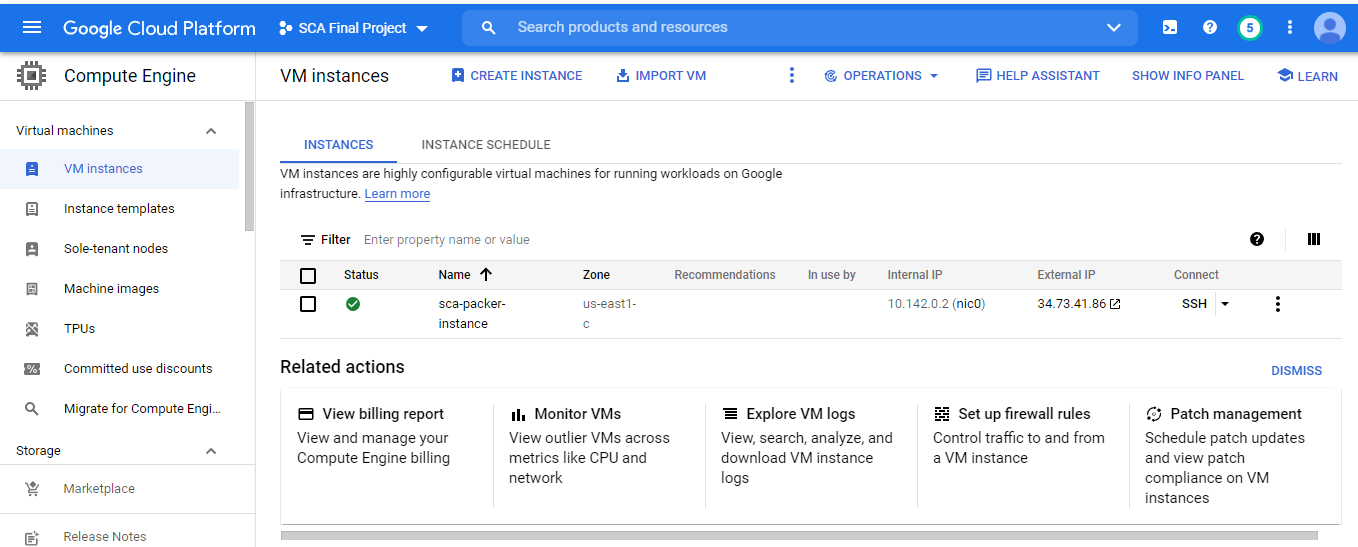
In order to use the custom machine image we just created using Packer, inside the GCP console, go to Compute Engine and select VM Instances
- Click on Create Instance
Name your instance. In this case I've called mine sca-packer-instance.
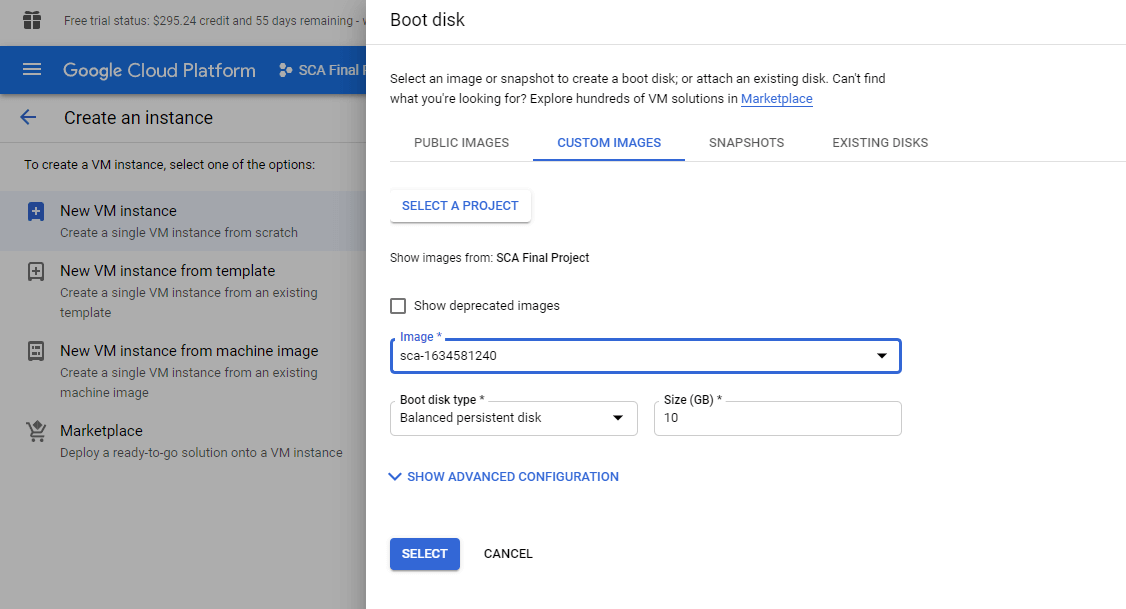
Under Boot Disk click on CHANGE .Go to Custom Images, select your project, and from the dropdown menu under image select the machine image your created using Packer. Click Select
- Select any other desired configurations and click Create
You can refer to this GitHub Repo for all the scripts we've used.
Conclusion
In this blog post, I have covered the basics of image creation using Packer. Hopefully this introduction to Packer has shown you the power of the product - the ability launch completely provisioned and configured machines in a matter of minutes.


